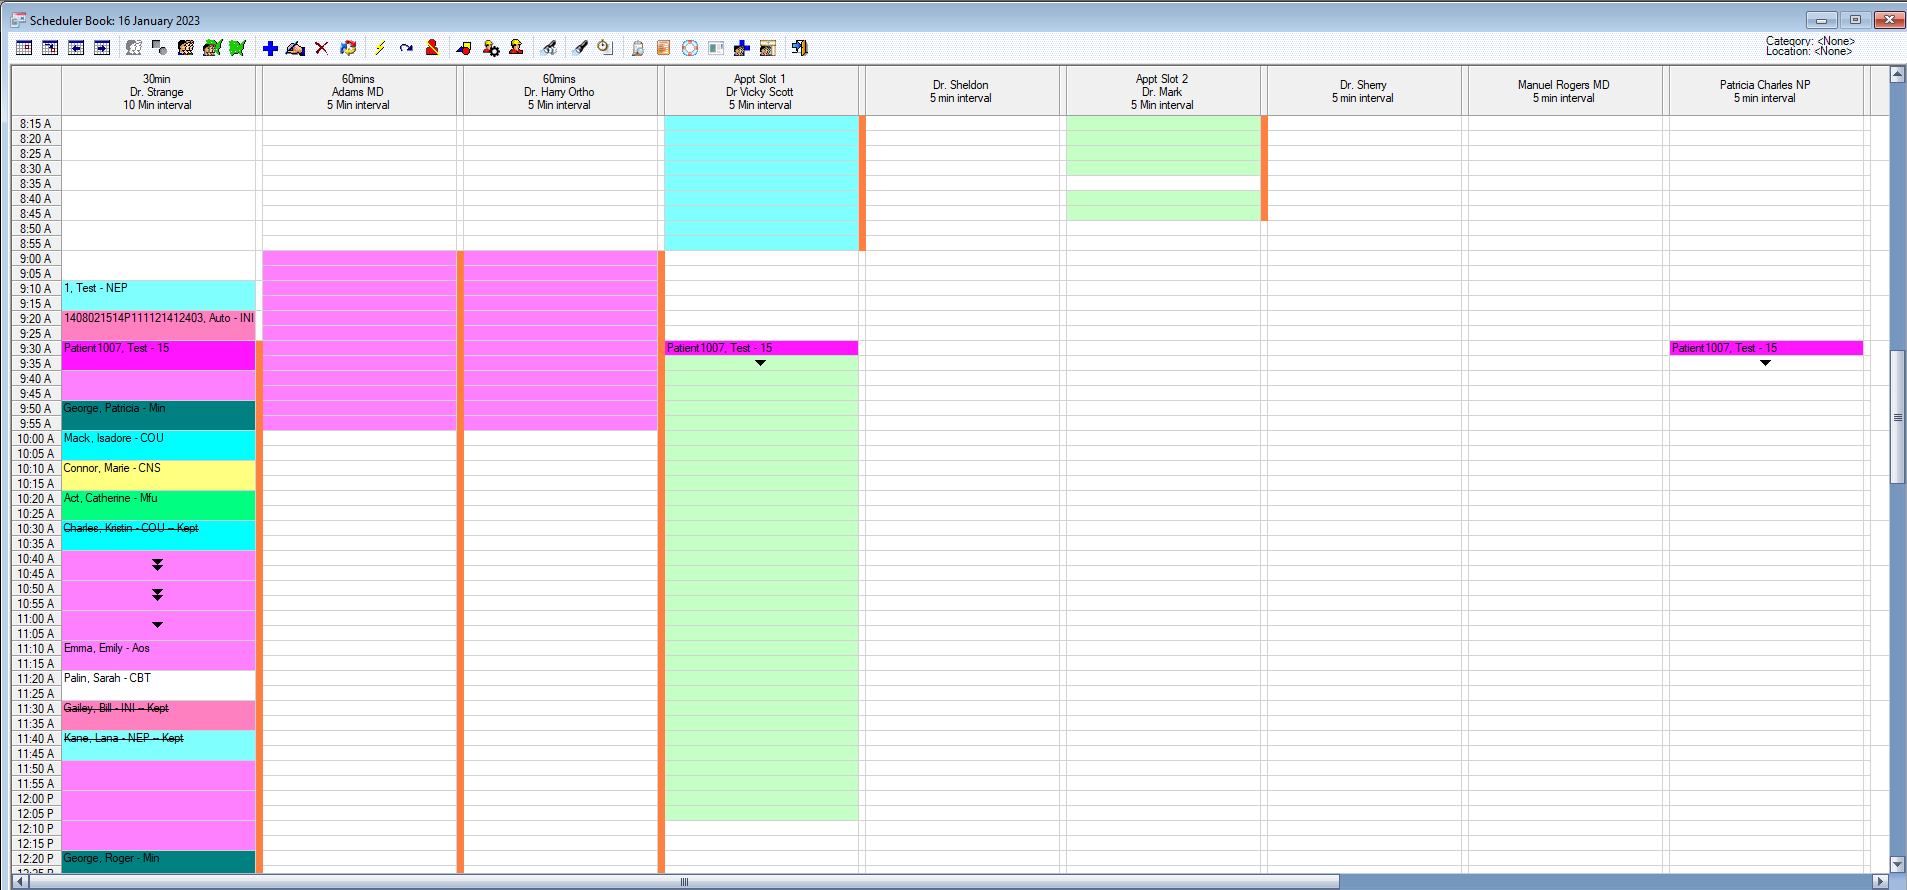
The Multi-View displays the appointment schedule for multiple resources for a single day. This view displays the appointments that are already scheduled and time slots that are not yet scheduled on the selected day for resources in the selected multi-view group.
You can select the Default multi-view group setting option in the Multi-View tab of the Appointment Scheduling Preferences window to determine the group of resources that displays when you open the Multi-View for the first time.
You can use the Next Day and Previous Day
  buttons on the toolbar to move the calendar from one day to another.
You can select the Change Multi-View Group  button on the toolbar to change the multi-view group. The appointment schedules appear for all resources in the selected multi-view group.
You can select the Change Multi-View Group Location  button on the toolbar to change the location for a multi-view group. The appointment schedules appear for all resources, in the current multi-view group, that are at the selected location.
You can select the Change Multi-View Location  button on the toolbar to select a specific location. The appointment schedules appear for all resources, including those that are not in the current multi-view group, that are at the selected location.
Note: You can create multi-view groups in the Multi-View tab of the Appointment Scheduling Preferences window.
Following are the features of the Multi-View:
- Each column represents one resource. Columns can be resized.
- You can view a maximum of nine resources at once and then scroll to view the additional resources.
- The color assigned to each time slot indicates the applied category. The color displayed to the right of each time slot indicates the assigned location.
Note: If there is only one location for a practice, the location column does not appear.
- The Scheduled appointments display the patient's name from the Description field on the Add Appointment or Edit Appointment window and the 1-3 character short description for the scheduled event.
- Appointments that take up more than one time slot display a black arrow indicator on each additional time slot.
- If there are two appointments scheduled at the same time slot, an arrow appears on the right side of the time slot. You can select on the arrow and select the desired appointment from the list.
- The checked-in appointments appear with a strikethrough, if you select the Strikethrough kept appointments on appointment book option in the General tab of the Appointment Scheduling Preferences window.
- The checked-out appointments appear in bold if you select the Bold checked out appointments on appointment book option in the General tab of the Appointment Scheduling Preferences window.
- A tooltip appears when you point at an appointment, if you select the Show category and location tooltips on appointment book option in the General tab of the Appointment Scheduling Preferences window. The tooltip displays the following information.
- Appt Start Time
- Resource
- Category
- Location
- The custom tooltip appears when you point at a scheduled appointment if you select one or more custom tooltip in the Tooltip tab of the Appointment Scheduling Preferences window.
- The appointment that has status as Pending appears in italics.